

Developer Portal
5 Permissions and Privileges on Payway
5.1 Permissions and Privileges Examples
If the Regular User is assigned to multiple divisions, the User will be prompted to select which division to perform operations within when logging on.

Depending on the permissions granted by the Company Administrator, features and certain functions may or may not be available. In the example below, all features are available on the Payway® payment manager.

If only Read permission is granted, any transactional processing from any screen is disabled and the user’s menu is displayed as shown below.

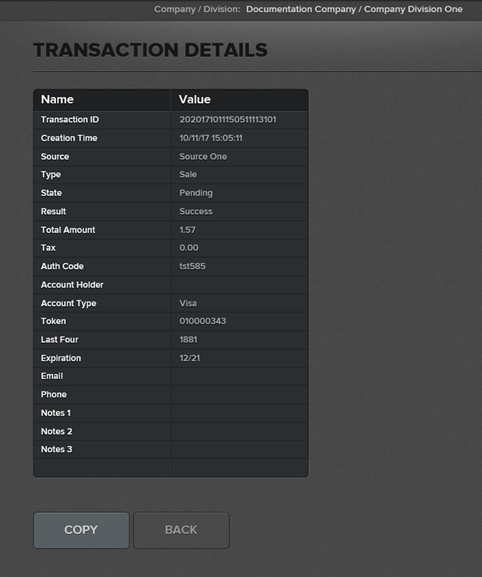
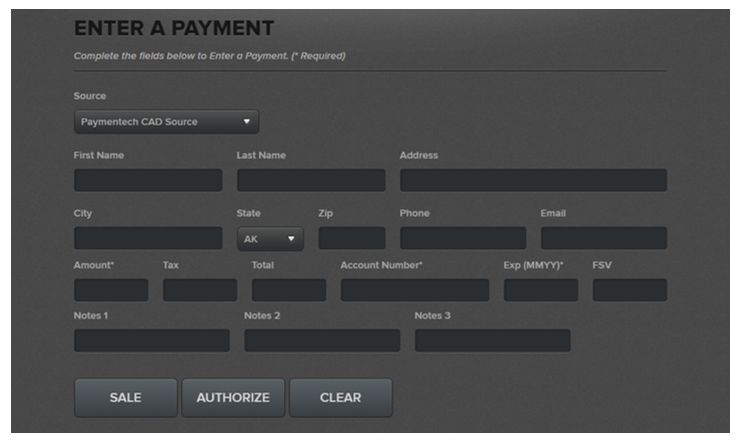
If only Sale permission is granted, a User can only enter a transaction. Read, Credit, Void, Accts and Upload permissions are disabled. See below for a sample of the Sale only screen.

The VOID Button does not appear on the detail screen.
The CREDIT button does not appear on the ENTER A PAYMENT screen.
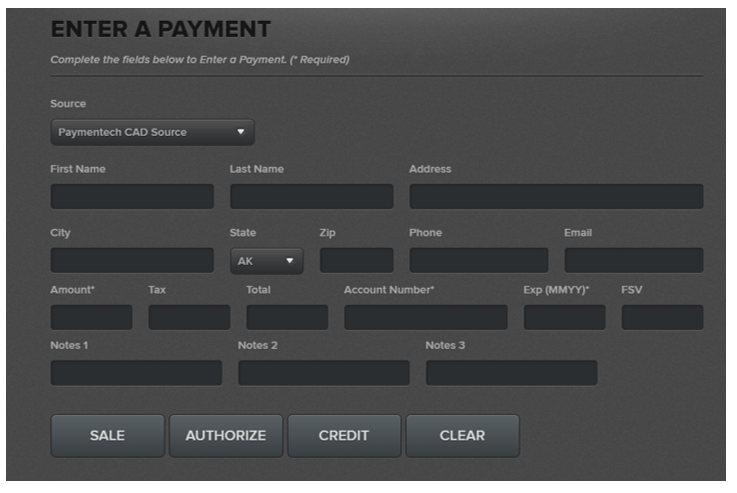
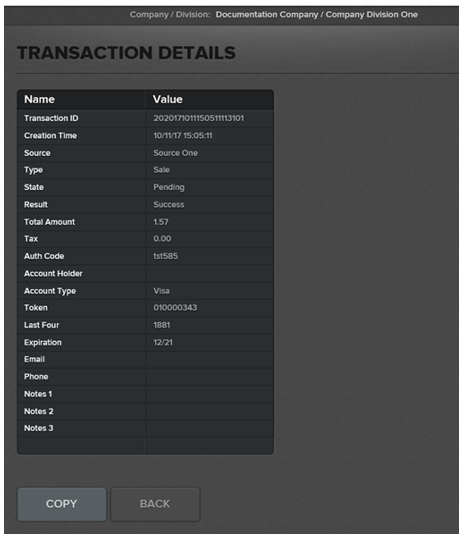
Read, Sale, and Credit permission granted, with Void permission disabled. The CREDIT button now appears on the Enter A Payment Screen
The VOID button does not appear in the Detail Screen.
Credit Limits
The credit limit is the threshold amount, in dollars per transaction, that can be assigned to a specific user by division.
If a Regular User is granted credit privileges, the Company Administrator must assign a credit limit, which is the maximum amount the Regular User is able to credit per transaction for that division.
If a Regular User tries to credit more than the limit, the Regular User will receive notification that the credit for that amount is not allowed.
5.2 Updating a Regular User Profile or De-Activating a Regular User on Payway
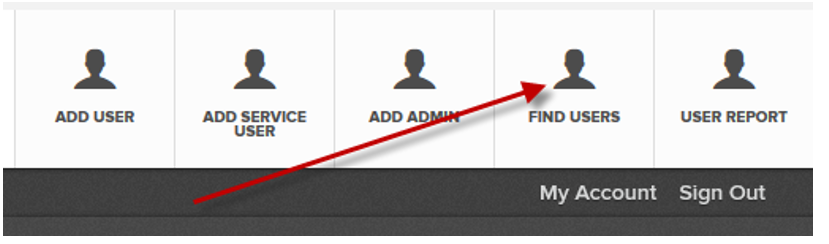
To update a profile or de-activate a Regular User on Payway select “FIND USERS” on the toolbar.
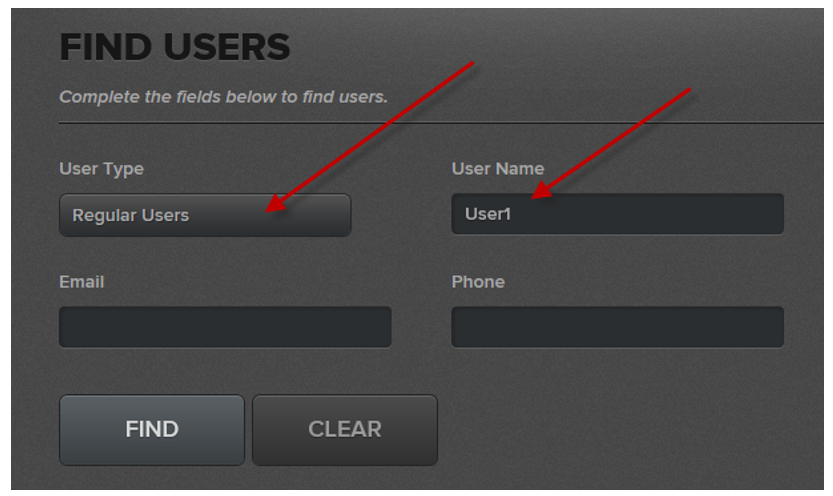
Search criteria can be refined by adding any combination of email, User Name and User Type. Note that the Entry Fields are wildcarded so that only a few characters may be required.
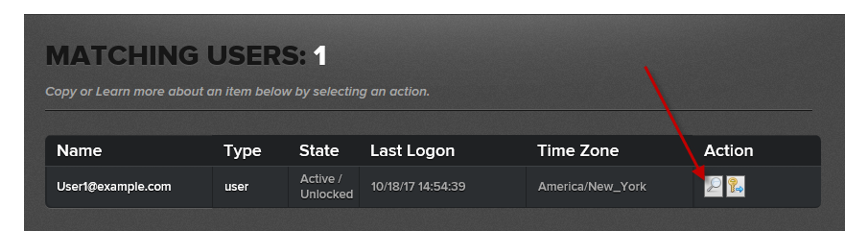
Select the magnifying glass icon.
Choose which privileges or profile entries to change. To disable a Regular User, select “Inactive” from the drop-down list.
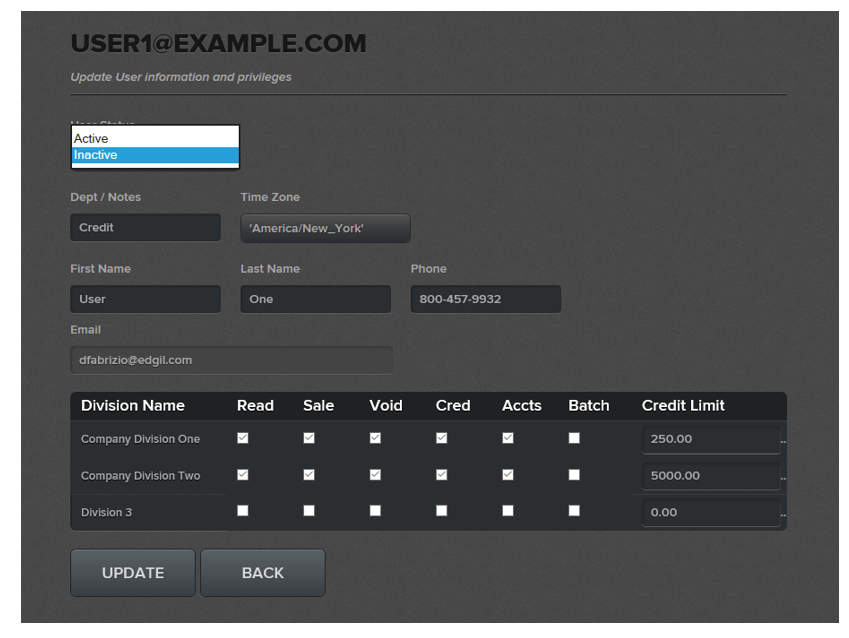
Select “UPDATE.”
5.3 Changing a Regular User Password
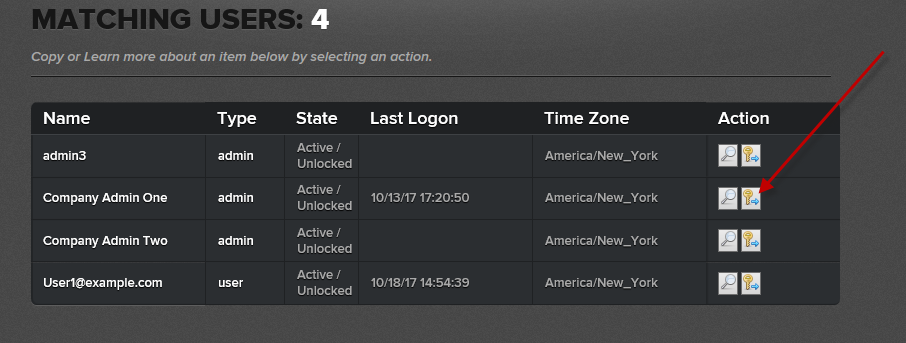
From the Tool Bar select “FIND USERS.”
Choose the Regular User on Payway and once results are displayed, select the key Icon.
Select “CHANGE IT.”
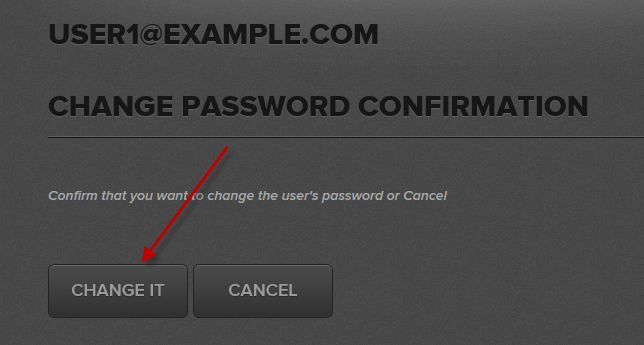
A temporary password is sent to the Company Administrator. Record the activation code. The Regular User needs this token to activate the new password when logging on to the Payway Payment Manager.